How to Convert GoPro Video Files
Do you looking for a tool to convert the GoPro video to MP4 or other format for playing or sharing? Do you want to convert GoPro video format for playing on different platforms or devices? This tutorial will teach you how to make use of a GoPro Video Converter effectively. Let’s we will tell you what is GoPro video format and teach you a easy method to convert GoPro videos from 4k/HEVC to MP4, MOV, WMV, AVI, MKV, FLV, etc.
What Is GoPro Video Format?
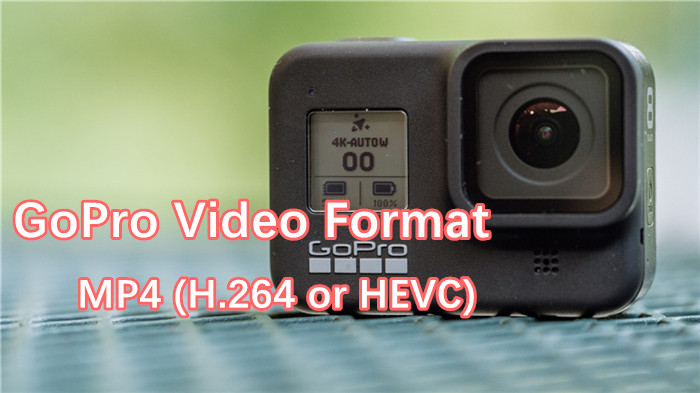
For video creator, GoPro camera is a good mobile device to record videos while on extreme sports, such as swimming, skydiving, skiing, cycling... As we all know that video files recorded by GoPro cameras are in MP4 format with H.264 or HEVC (High-Efficiency Video Coding, also known as H.265) video codec. The specific format depends on your camera and recording settings.
Almost all GoPro HERO cameras use H.264 codec to record videos. These files will have a .mp4 file extension. MP4 is the most common type of video file format and MP4 files are compatible with almost all devices. They can be viewed on any media player and edited using any video editing software.
However, if you use HERO10 Black, HERO9 Black HERO8 Black, HERO7 Black, and HERO6 Black cameras, you’ll find these video settings use the H.265 video codec (HEVC format).
These cameras usually record videos at 60FPS and in 4K resolution. HEVC (H.265) is a video compression standard that allows GoPro to capture large video content at approximately half the file size with the same image quality. That’s why these cameras use the H.265 video codec (HEVC format).
When you insert your GoPro’s memory card into your PC/Mac, you may find LRV and THM files alongside the MP4 video file.
How to Convert GoPro Video to MP4, AVI, and More
If you are looking for a high-speed quality video converter to work with GoPro videos, ApowerShare Video Joiner & Converter can help you. It is a highly recommended GoPro video converter with feature-rich programs embedded in it, you can use this program to convert HEVC files to H.264, as well as convert MP4 video from H.264 to H.265. The tool supports a wide range of video formats and audio formats. If you need to convert GoPro video format, you can easily to convert GoPro videos to 100+ formats with high-quality output, including MP4, MOV, WMV, AVI, MKV, FLV and more.
Key Features of ApowerShare Video Joiner & Converter:
- Convert GoPro videos to 100+ formats like MP4, MOV, WMV, AVI, MKV, FLV, etc.
- Merge multiple GoPro video clips into one large file lossless.
- Batch convert GoPro videos to MP4, AVI, MOV and vice versa easily.
- Convert GoPro videos to almost all devices, like iPhone, iPad, Android phone, etc.
- Convert GoPro videos to share on SNS sites, like YouTube, Facebook, Twitter, etc.
- Compress GoPro video size smaller without losing quality.
STEP 1. Open the Software and Add GoPro Video Filles
Launch the ApowerShare Video Joiner & Converter on your computer, then hitting “Add File” to import the GoPro video files you want to convert.

Tips: To convert GoPro video format by using this software, we suggest you add a video file only. If you add two, three and more video files at batch, all added video files will be merged into one file. Of course, if you want to merge multiple GoPro video clips and change video format, you can add two or more multiple GoPro video clips for merging them together lossless.
STEP 2. Select Output Format
In the top portion of the interface, click “Merge” button and choose the desired output format you want, including MP4, AVI, MKV, WMV, MOV, FLV, and more.

For example, as below screenshot, you can convert GoPro video files to optimized preset for almost all devices, like iPhone, iPad, Android phone, Android tablet, etc.

Tips: You can click “advanced” options to get more output profile settings. Here, please click on Video Codec drop-down menu and select H.264.
STEP 3. Start Convert GoPro Video Files to MP4
When the file is ready, the folder with the output file will open automatically. Then, please clicking “Merge” in the top right corner to start converting GoPro Video to MP4 in H.264.

When the GoPro video file conversion completed, you can transfer it to other devices for playing smoothly.